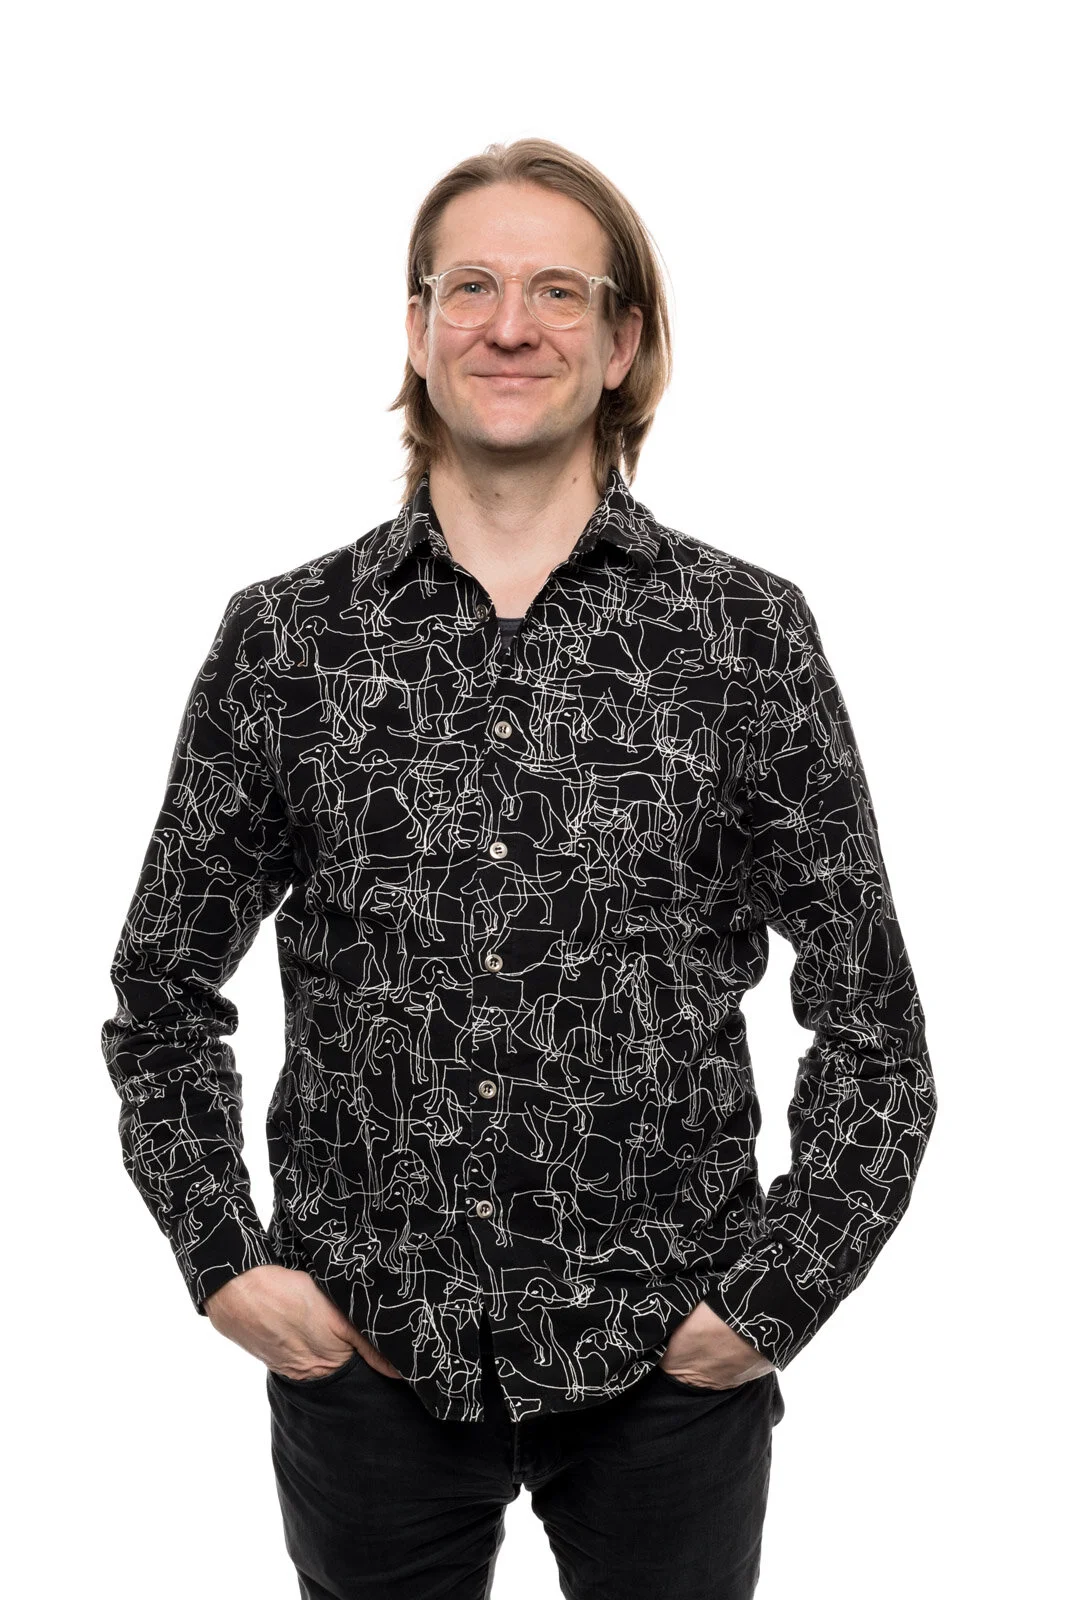
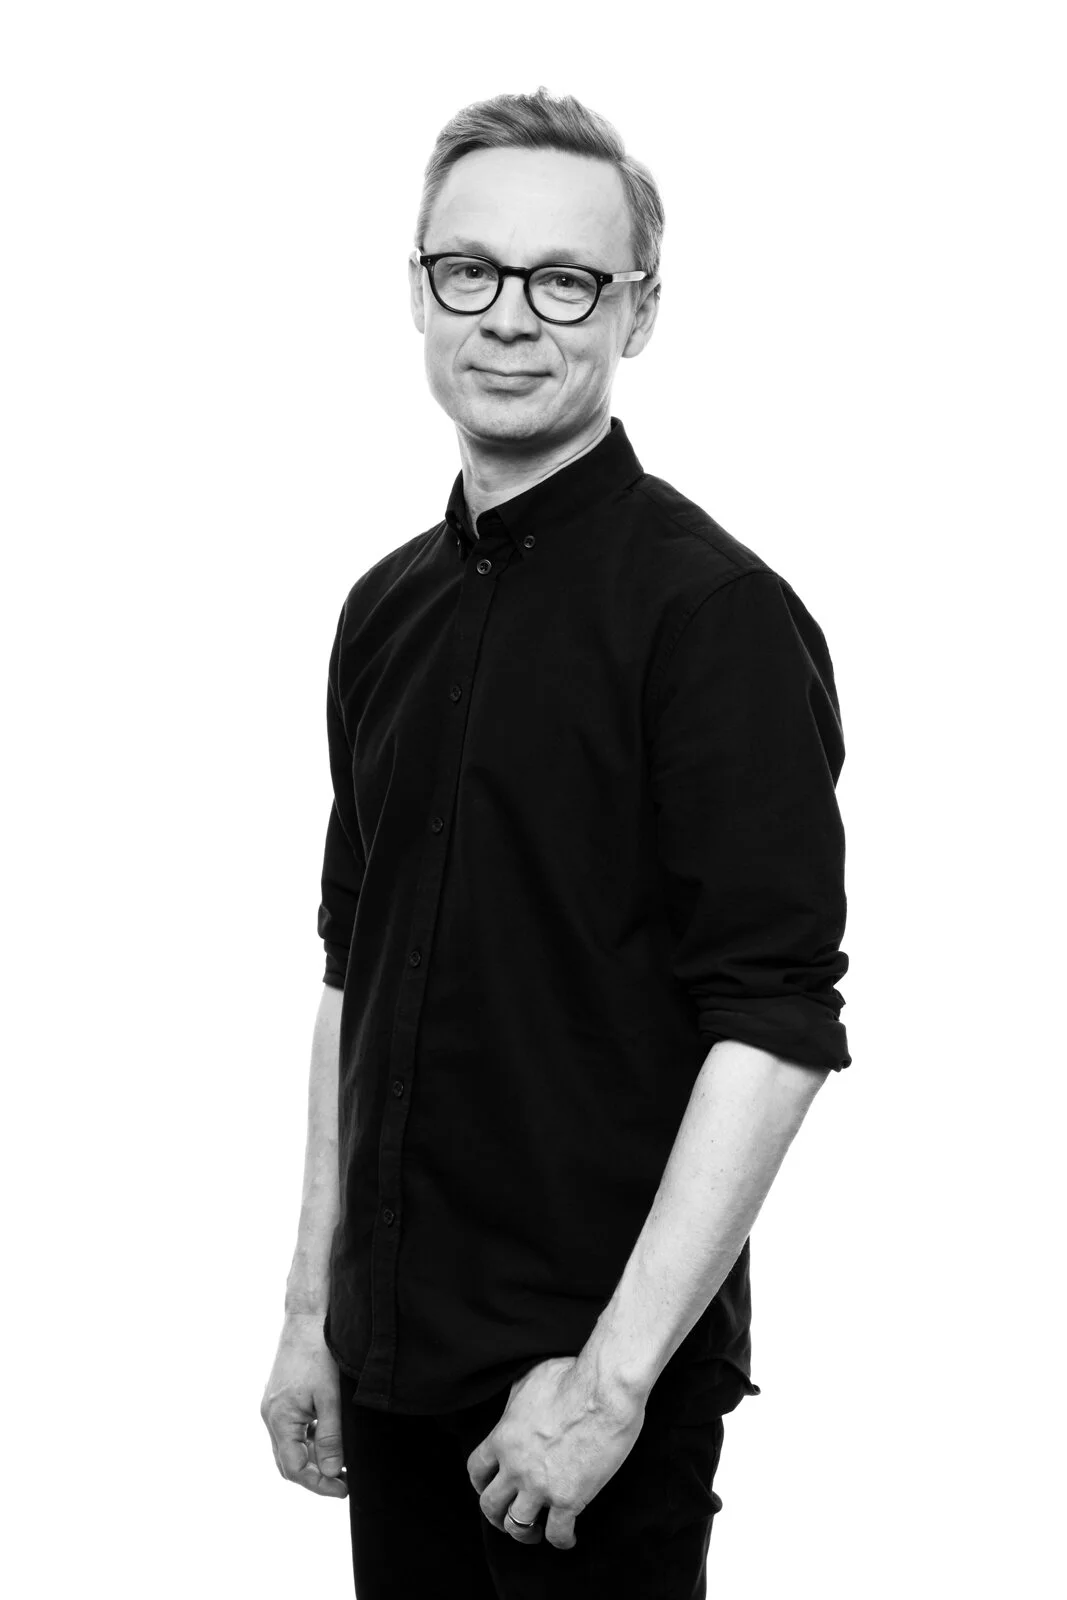
Red seamless? This is white seamless snapping to pure white with the highlight warning on in Lightroom, still retaining contrast on the subject. This was shot in a small conference room, but you can still pull this off with three lights and some flags. Read on!
Ah, white seamless. Let me count the ways I love thee! It’s versatile, it’s clean, it’s crisp, it’s professional, and it’s not such a pain in the ass to get it done. I was hired to do portraits of architects by two architectural firms in Oulu, and turns out they both wanted portraits on white. So, white is what they got!
First of all, they wanted me to photograph all their employees, which amounted to 20+ people, and the space they had for the shoot was a conference room that doubles as a ping pong room. (Or is it the other way around?) No problem: I just had to make sure we’d have enough room to get away with our blown-to-white backdrop.
Okay! Not bad. You can figure out the dimensions of the room by the window and the conference (ping pong) table. I’d say 3,5 x 4.,5 m (or 11.5ft x 15 ft for our imperial-unit friends out there) which is doable, but tight.
This room provided the bare minimum and nothing more for a 2/3 length shot on a white seamless. Headshots you can do in a smaller space but I couldn’t pull off a full-body length shot here without many, many cursewords. And later I’d still be cussing out everything in Photoshop. There is the light to worry about but also focal length comes to question—can you get an undistorted shot of a tall person here? Focal length is preferably 50mm or longer? And the room is low? You’d see the top of the seamless? And on and on and on.
But! This room did give me enough space to set up all my stuff that I needed to pull off this shoot:
BTS shot on the cell phone! So this is a three-light setup: two Elinchrom 400’s aimed at the backdrop, two black flags blocking their light from hitting our subjects, one Elinchrom 200 in a medium umbrella softbox for key light. The key is above the camera and back enough to provide even lighting for the subjects. (Lights are turned off for this shot, due to reasons of laziness.)
Next up is the task of getting your exposure. Now, Zack Arias has a great two-part video on this you can watch at your leisure, but here’s the shorthand version. I wanted to get an exposure of f/11 on the subjects and the backdrop to go pure white. That means at least 1.5 stops hotter in the background. I measured f/20 on the white seamless behind the subjects, which is 1 and 2/3 stops hotter than f/11 on subject. Camera’s JPG previews blinked red for blown out highlights, but if you shoot RAW files (which I do), there was still plenty of headroom left. To wit:
Photograph on the left is straight out of camera, which is just her in my measured exposure of f/11 subject, f/20 background and holding a white target for color correction. Photo on the right is her after post-processing, which including pumping the whites to blown out (100%, or R, G, B values all at 255). But check out the headroom in the shot on the left:
Camera blinks out like a mother, everything around the subject is red and blown out, no detail left. Pull it up in Lightroom and you’re not overexposed in the white. That’s JPG vs RAW for you. Left histogram for straight out of camera shot, right histogram for the processed photo of her.
Exposure’s done, crop’s done, camera’s on sticks, everything’s set, so let’s bring the people in!
I also gave them black and white options:
In addition to being a really nice bunch of people, these guys have a wonderful office dog, Gordon, who dropped by my makeshift studio a few times during the day to make sure that everything was copacetic. I couldn’t leave without making some portraits of this little heartbreaker:
Dropped the key light down on the c-stand to hit Gordon; background lights were good as they were. This is chair number 2 as chair number 1 was not up to code, as judged by Gordon.
It was a full day on the job: setting up, photographing over 20 people and making time for group photos for the two firms, tearing down and packing up. Post process was saved for another day. But all in all everything went without a hitch!


